Monday, April 22, 2013

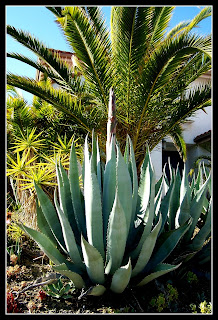
Giant Asparagus or Agave Americana?


I took this picture of our alien-like, asparagus-looking plant while standing on our front stoop.  Can you see the shoot that is "shooting" straight out of the agave?  It's quite a sight actually.  We can't decide whether to be proud of this once in a century occurrence or embarrassed.  I'm sure we're the talk of the neighborhood.  Just last week, the taller of the two shoots seen here was the size of the shorter one.  Yes, it has grown that much in just one week.  So how much taller is this asparagus looking being going to grow, you ask?  According to my research into the wee hours of the morning, our special, once in a lifetime (sometimes called good luck charm) flowers from the Agave Americana can grow to a height of 40 feet each!  Imagine our surprise when we discovered this wasn't some sort of anomaly that I wanted to take the hacksaw to, but a very rare and special flowering showpiece.  I guess I'll have to put the hacksaw back in the garage.

I've posted more pictures below so you can get a better look at our special plants.  Actually, now that I know what I do, they're starting to grown on me.  We have gone from being embarrassed to be seen out front, to waving to our neighbors as they drive and walk by while pointing proudly to our beautiful flowering agave.


I found a great website at the link below that describes this beautiful plant.  It's hard to believe that our plants in our small front yard, may look like the majestic flowering (it really looks like a tree) agave below.

Read more about the Agave Americana at the link above.

I'll try my best to keep you posted on the development of our majestic Agave Americanas.  At the rate of five to six inches of growth per day, it won't be long 'til they reach the stars!

Have a wonderful day,

~ Alison


Thursday, April 18, 2013

"Picasa 3, Meet California Street"

Most of you know, by reading  many of my former posts, that our oldest son lives and works in San Francisco.  You probably also remember how much I love to visit his beloved city.  I thought I would post a few pictures that I took on one of our walks down California Street from Pacific Heights to the Embarcadero. My son takes this walk every day as he goes to and from work.  What a lucky fella!

I have a dear friend who lives in New York City who told me during my visit to his city to always LOOK UP when walking our finest cities.  He was right!  I do this in every city I visit now. I am astonished at the beauty that can be found high above eye level.  All three of the pictures I've posted here were taken of buildings along California Street as I walked around... looking up.  ~  I must insert a safety warning at this point.....urging everyone to please have someone with you guiding you as you attempt to take pictures in a crowded city as you walk....looking up.  It can be dangerous! ~

I've always been fascinated with architecture and architectural elements.  I love altering the photos with photo editing programs and software.  Since I'm a true Google Nut, I love Picasa 3.  It's a free downloadable photo editing program produced by Google.  You must try it!  I edited the photos here with Picasa 3, and then uploaded them to yet another program, PicMonkey, to add the borders.    

So, there you have it:)  My photo editing secret....Picasa 3! With a little help from PicMonkey.  I just love sharing tricks of the trade for others to use.  I still love Adobe Photoshop ~ I just wish it wasn't so expensive.....

I'm curious to know what you think of my photos of California Street.  Can you identify the buildings?  Have you been on California Street?  I hope you have had the chance to "look up" in one of our nation's most beautiful cities.

~ Alison
This post was linked up to:


Tuesday, April 16, 2013

Tuesday's Treasury ~ Thinking of Boston.....

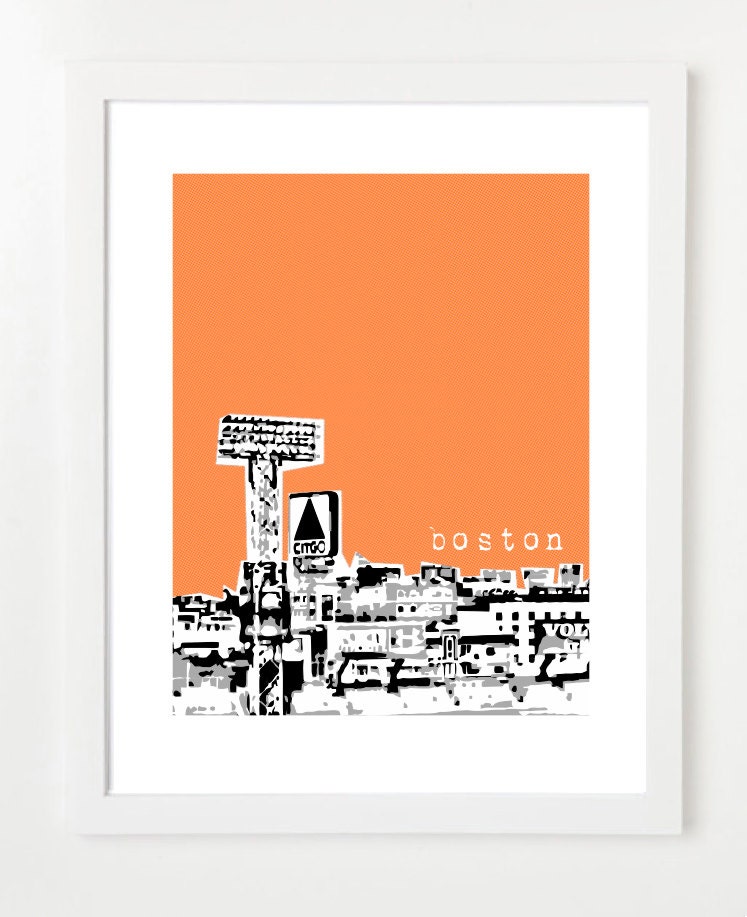
I've had Boston on my mind all day today. I thought I would share some beautiful creations made by artists from Boston showing their beloved city. I think we've all had Boston on our minds today.....

'Boston by Bostonians' by hartleyrowe

I've had Boston on my mind all day today.....

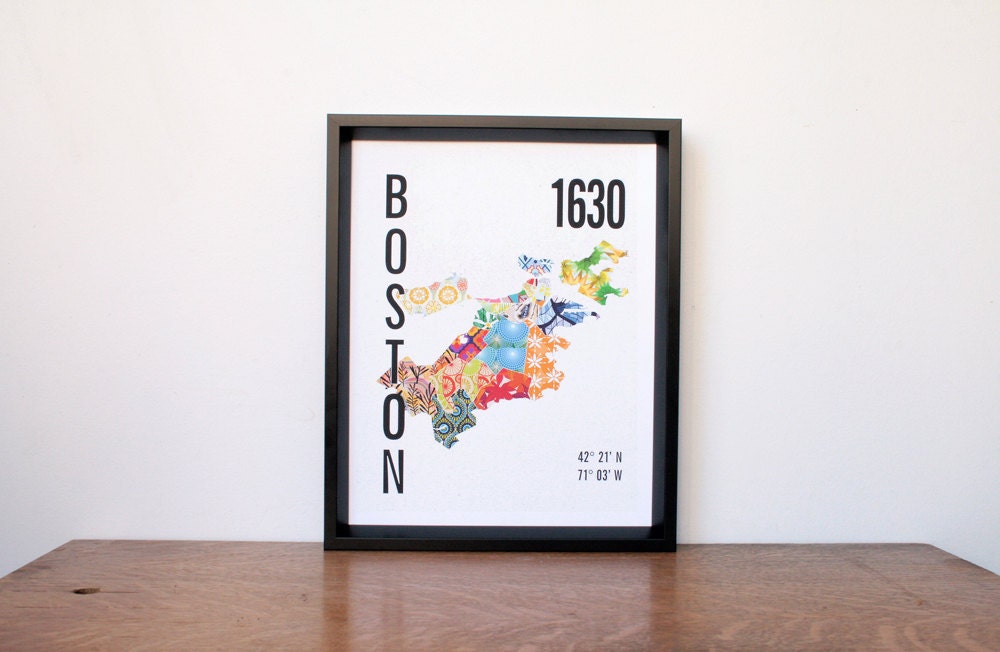
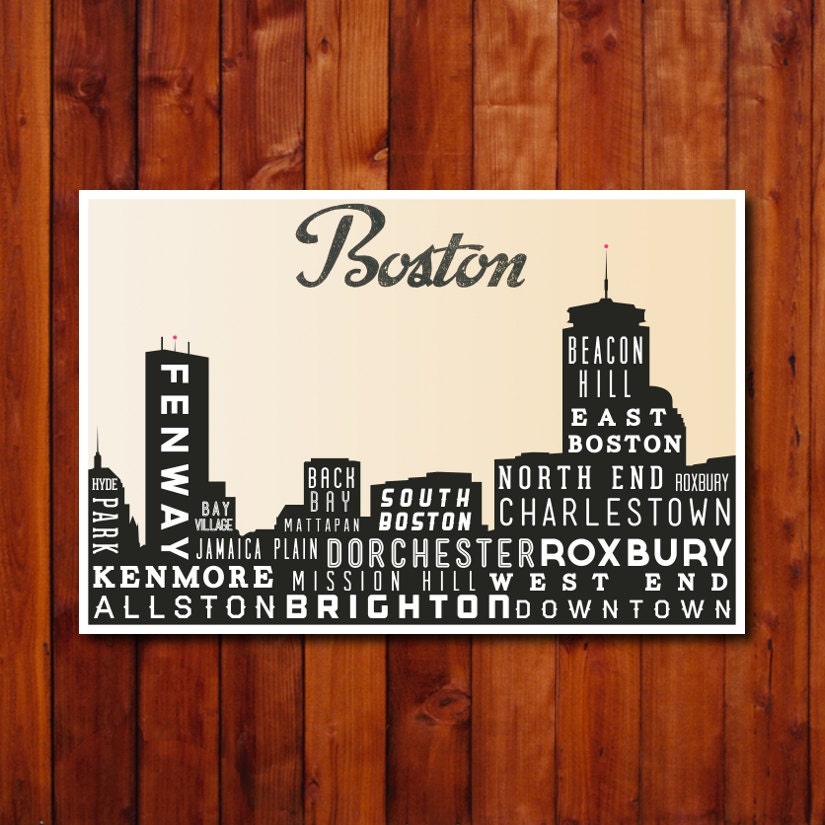
Boston Neighborhood Map Print - JhillDesign
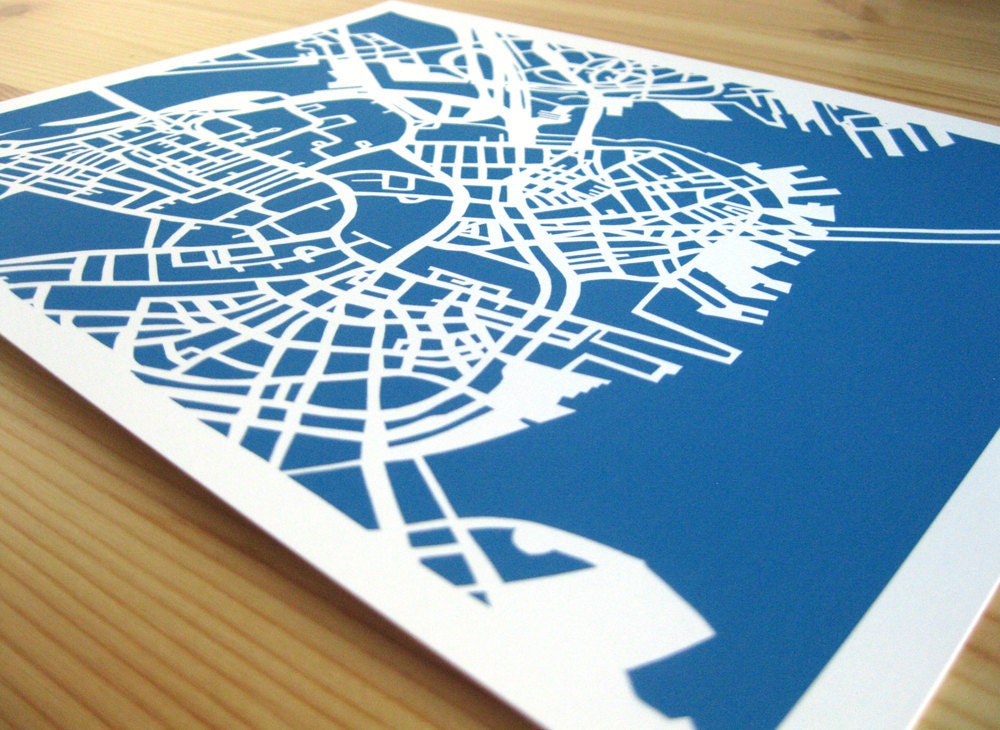
Boston Papercut City Print - 8" x 10" - Paperchoke
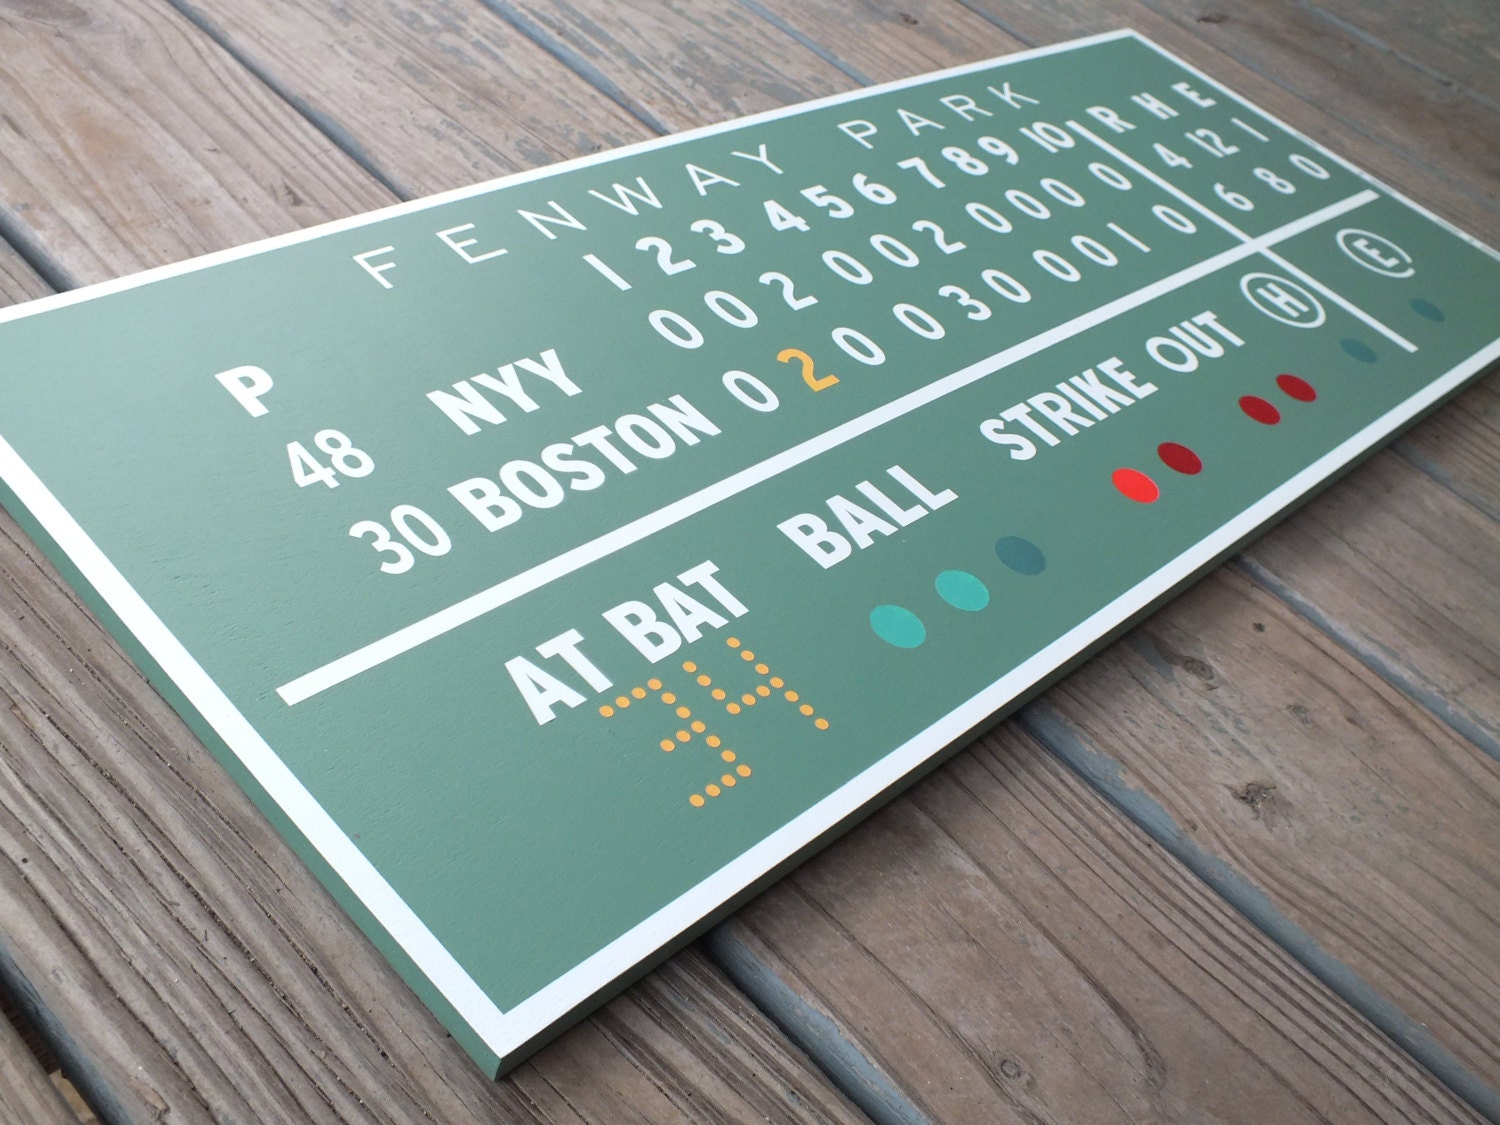
Painted Fenway Green Monster Scoreboard Boston Red Sox - 406Concepts
Boston Art City Heart Map - 8x10 Art Print - LuciusArt
Boston Skyline Art Print - Fenway View - Boston Poster - City Art - 8x10 - BugsyAndSprite
boston PRINT - StudioKMO
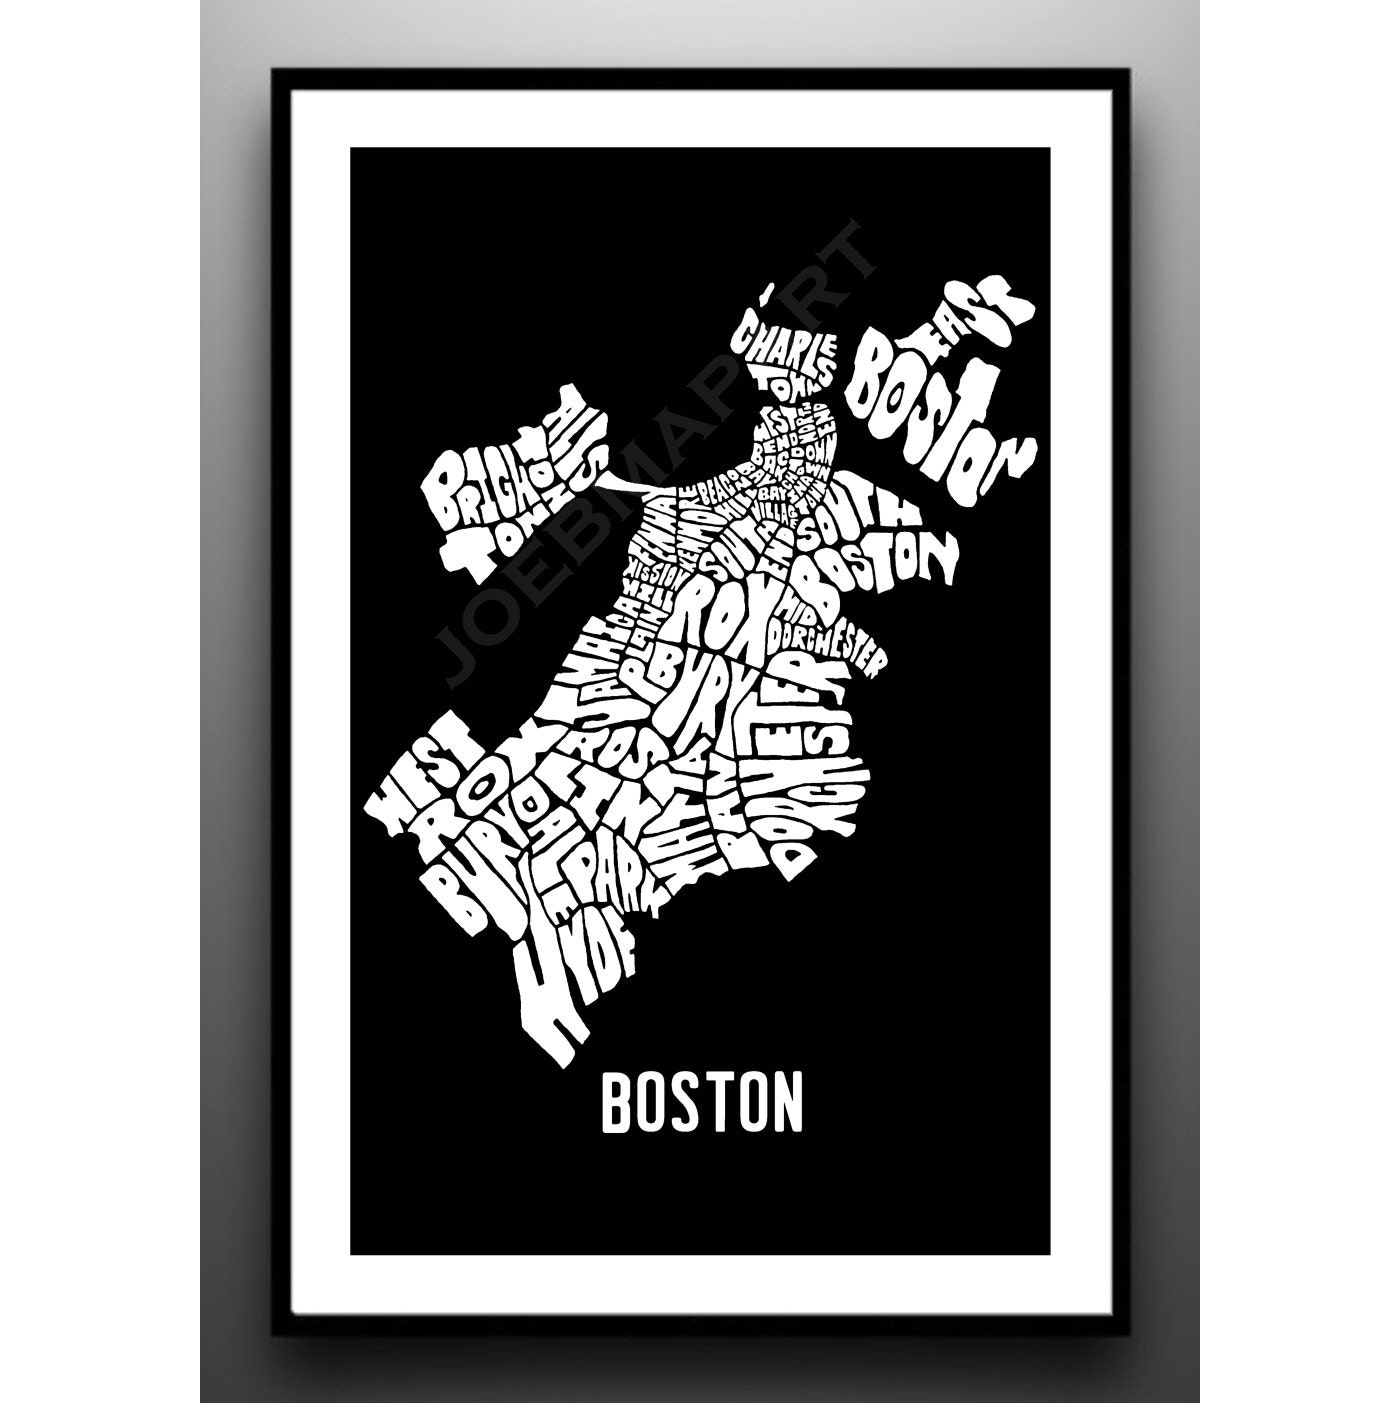
BOSTON Neighborhoods Typography Map Art Print - bus scroll subway sign art print - joebmapart
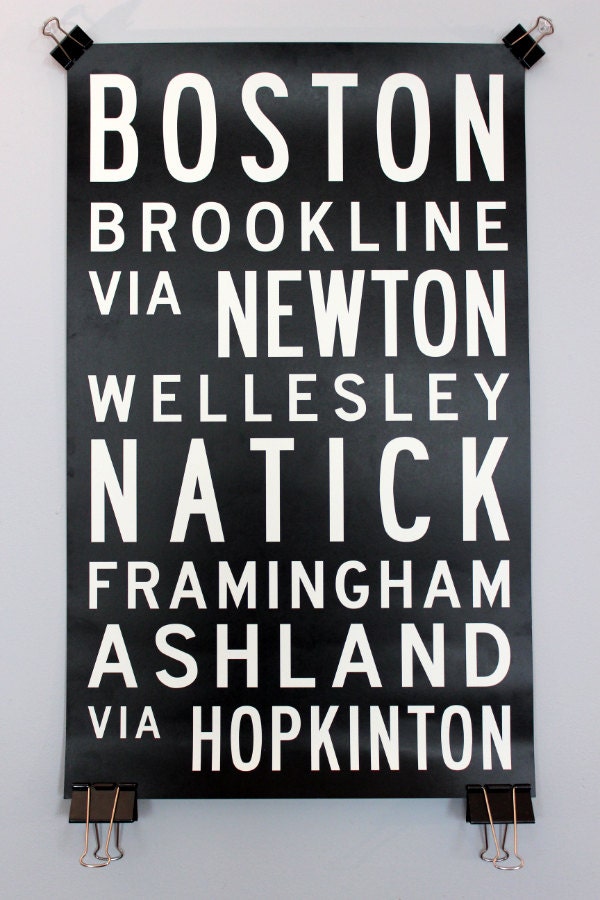
Boston via Hopkinton: Marathon Bus Roll Poster - UnionJackCreative
BOGO Sale Boston Massachusetts City Map - Buy 2 Get 1 FREE - Vintage Dictionary Print Vintage Book Print Page Art  Vintage Book Art - TheRekindledPage
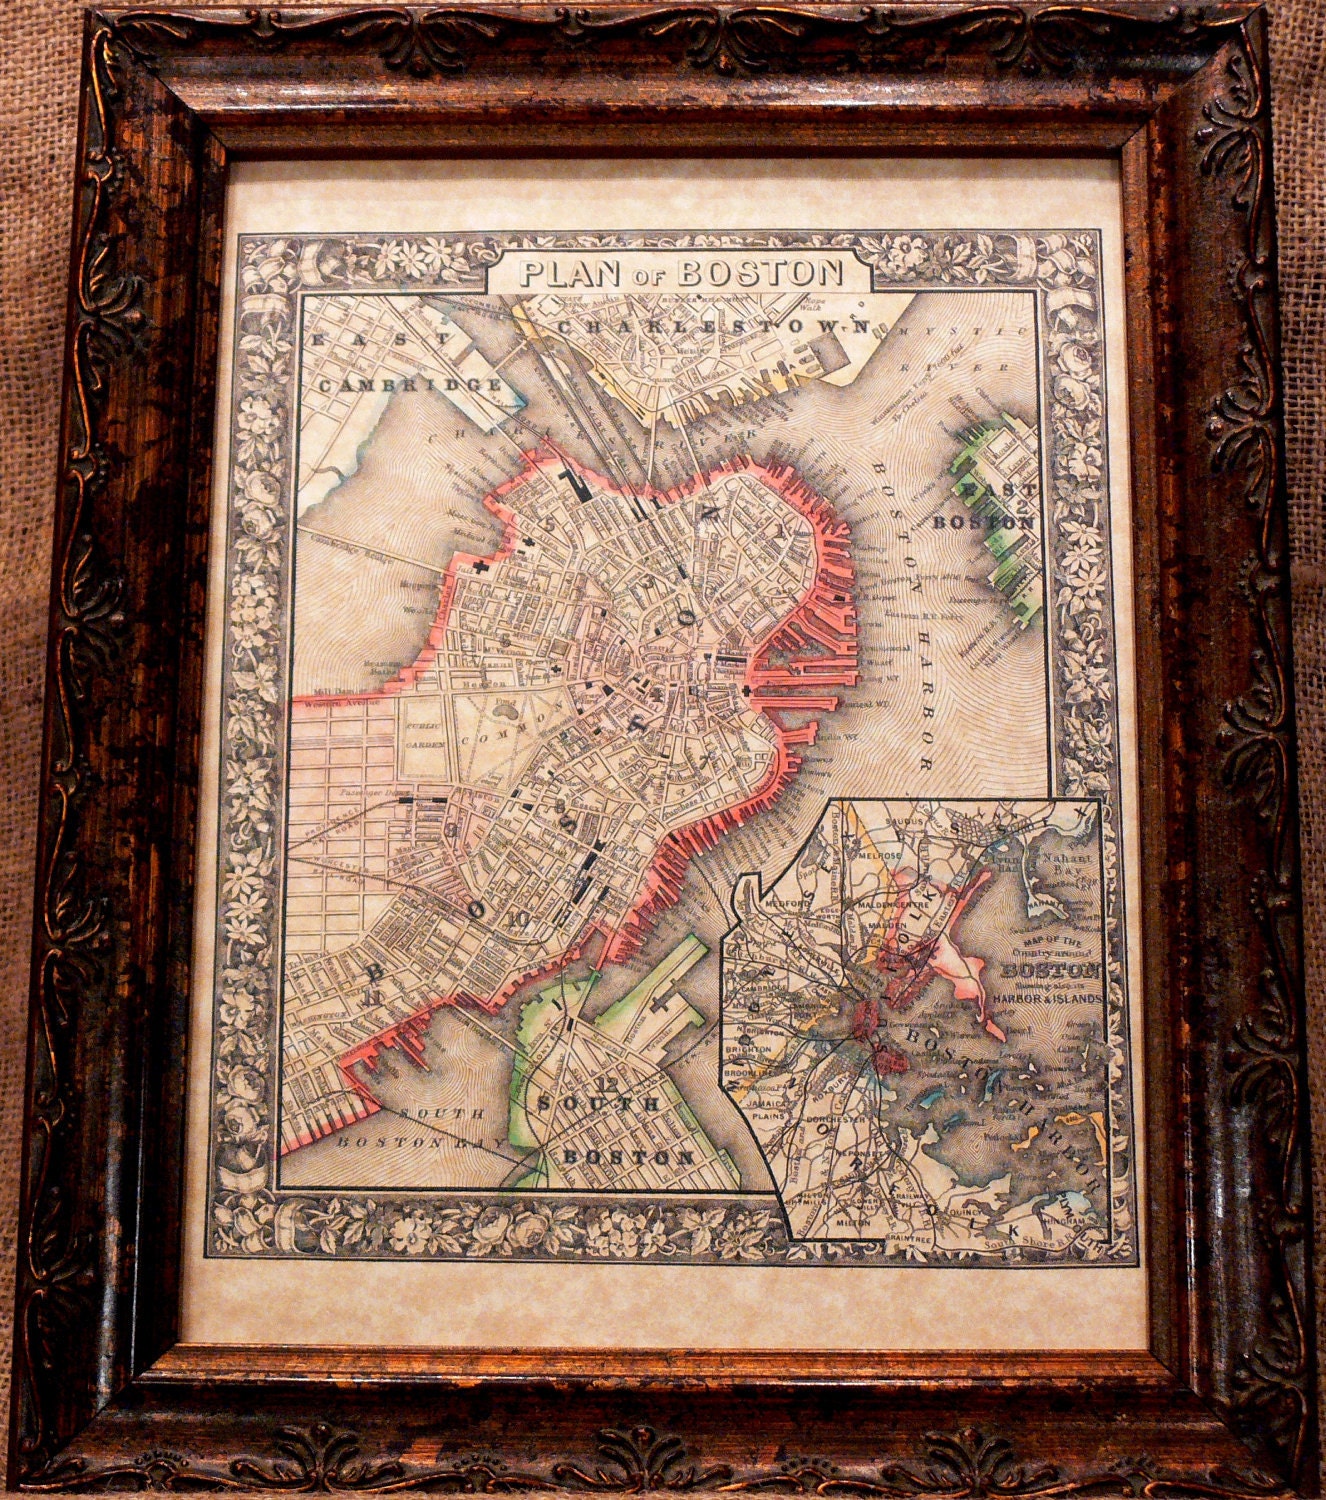
City of Boston Map Print of an 1866 Map on Parchment Paper - apageintime
3x Boston Skyline  -  Framed Pop Art Signed Dated Made in USA Boston Massachusetts Art print - PineShore
Boston Neighborhoods Poster - Boston Skyline Art - 18"x24" - GeenyusPosters
Boston Artistic Blueprint Map - MapHazardly
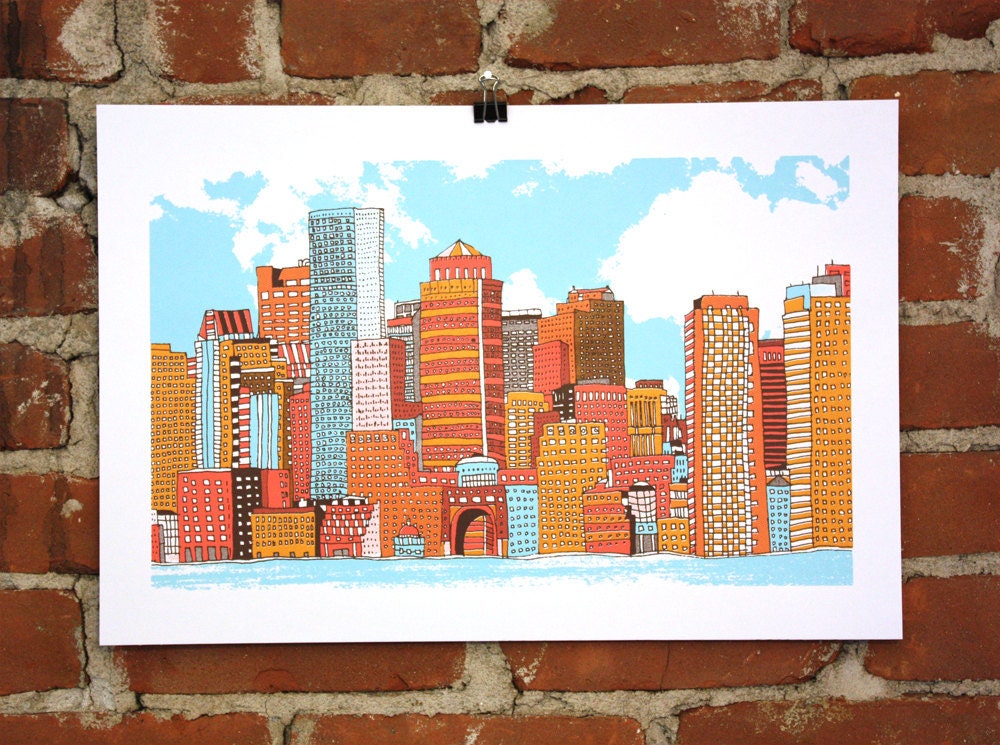
Boston- Hand-printed Art Print - nateduval
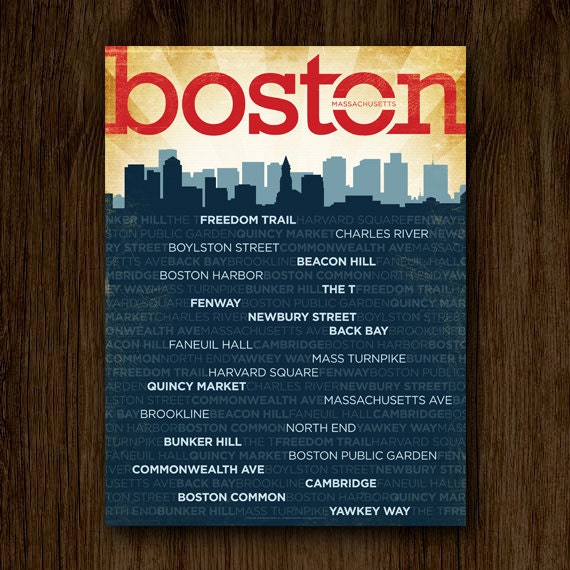
Boston Skyline Print, Typography Poster, Retro Wall Art,  Modern Home Decor - 12x18 - GoingUnderground
Boston Minimalist City Poster - 12" x 18" - FlyingJunction

Treasury tool by StylishHome.

Monday, April 15, 2013

I Love Shutters!


I start so many of my sentences by saying "I love .....".  Just fill in the blanks with various items.  Truth is, I love so many things, especially those things that have had a long, useful life and just need a little nudge, or some elbow grease, to make them wonderful again!

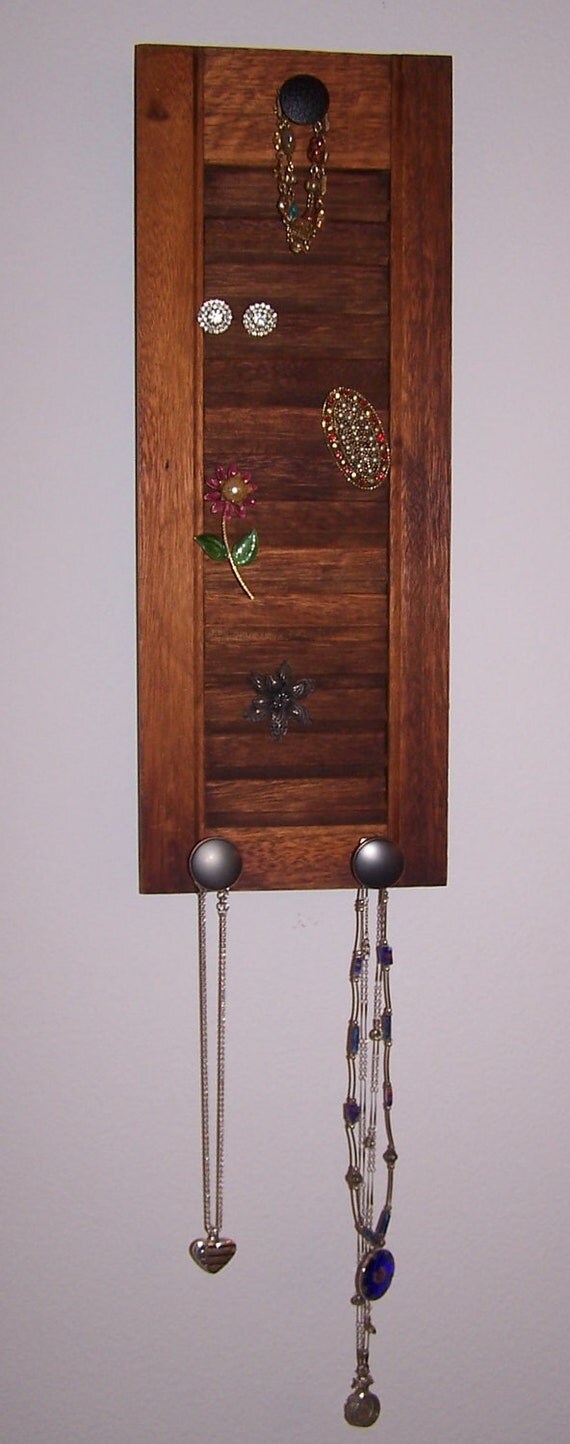
My current obsession....other than pallets at the time....is shutters ~ any shape, any size.  They can be turned into so many useful and beautiful creations.  I've been using them a lot to make jewelry organizers and memo boards. I've posted a few pictures here for you to take a look. 

Below is the beginning of the process with a brand new(old) shutter I found at one of our local flea markets.  I love flea markets, too!  I always scrub and sand away any rough edges on the shutters as you can see below.  In order for the shutter to hand flush against the wall, I tack on some fir strips to the back after nailing the louvre bar in place.  On this creation, I painted to added wood black.


You can see a picture below of the back of the shutter after the saw tooth hanger is attached.
  
Below is the finished product! It's also pictured above.   I added some knobs that I got from Habitat for Humanity Resale Store and voila, a new jewelry holder!
Jewelry Holder - Reclaimed Shutter - Re-purposed Shutter - Wooden Peg Rack - Salvaged Hardware Peg Rack

So, what do you think?  Do you have any projects to share using shutters?  I'd love to see them.  Please leave a comment with a link below.

Thanks for stopping by!

~ Alison

This post was linked up to:


Tuesday, April 9, 2013

Tuesday's Treasury ~ A Visit to the French Countryside

I love "window" shopping on Etsy.com. I wish I could afford to buy everything I see. Today, I searched for images, paintings and photographs of the French Countryside. These are so beautiful it makes me want to visit this beautiful region now!

'A Visit to the French Countryside' by hartleyrowe

I want to visit ~

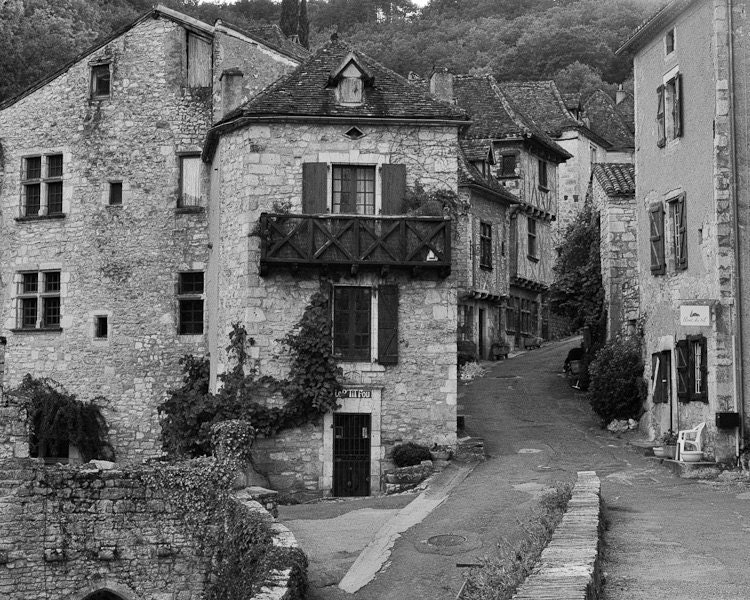
The Streets of the French Countryside - Black and White Photography - inthisinstance
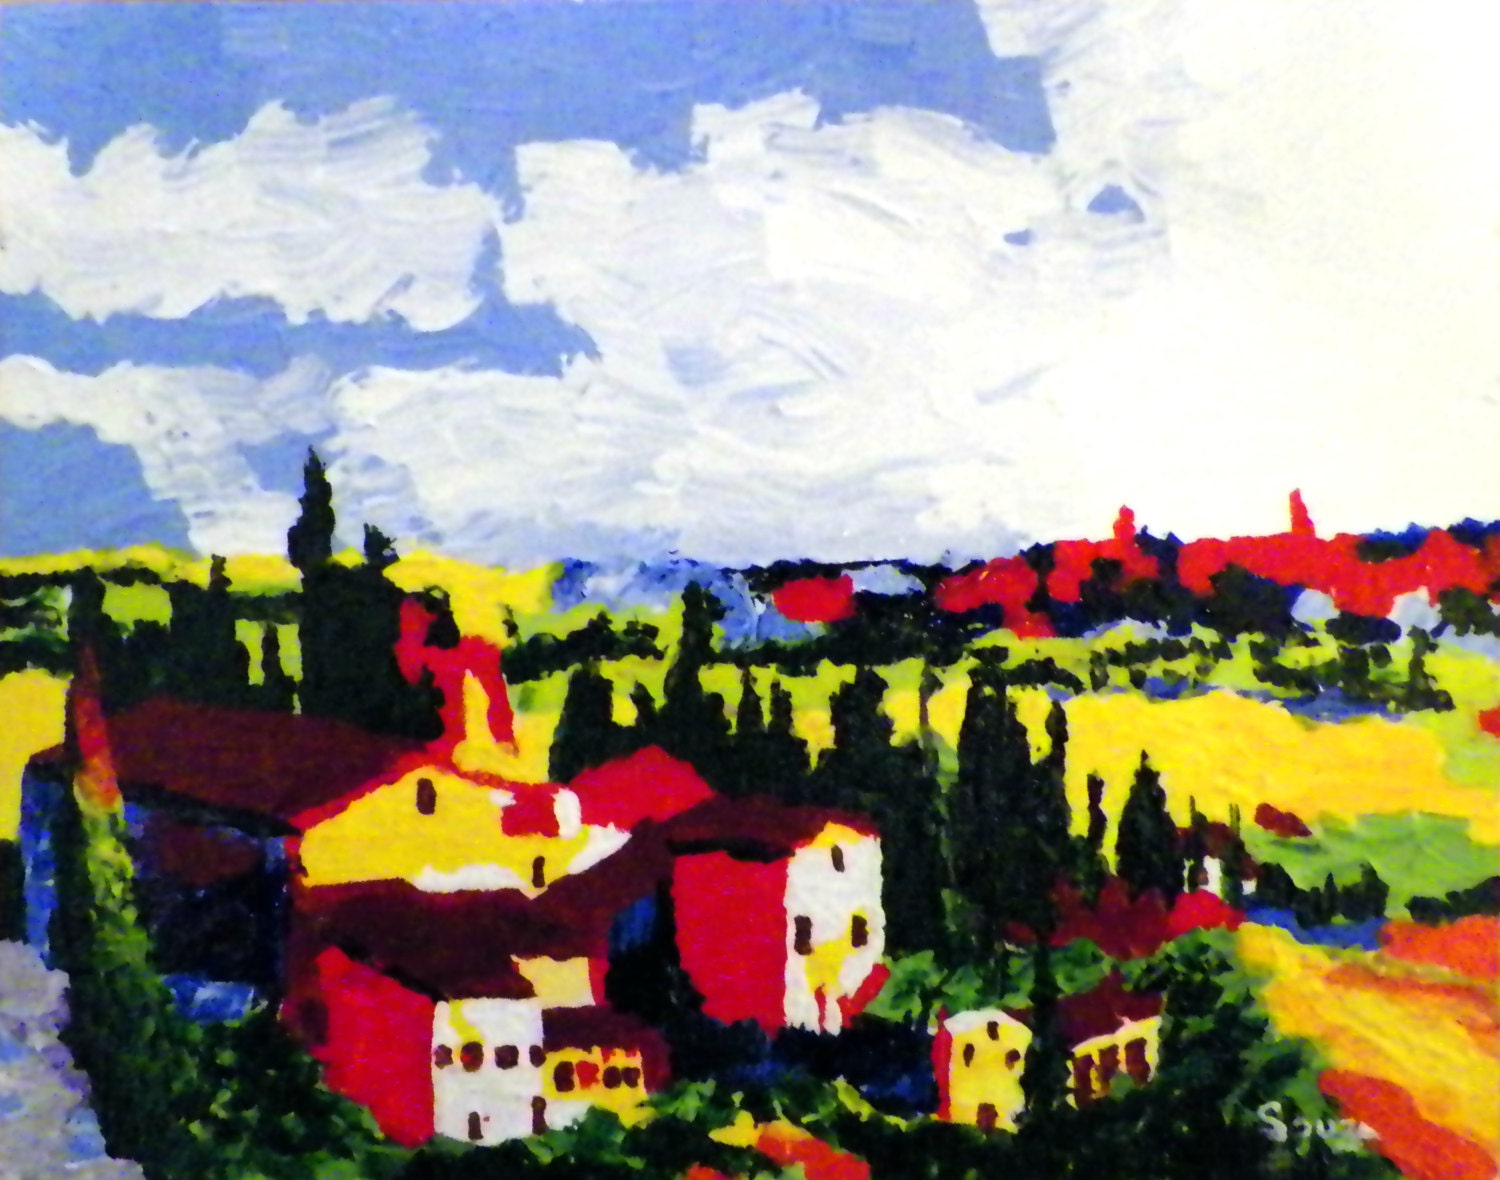
French Countryside - JohnsArtShop
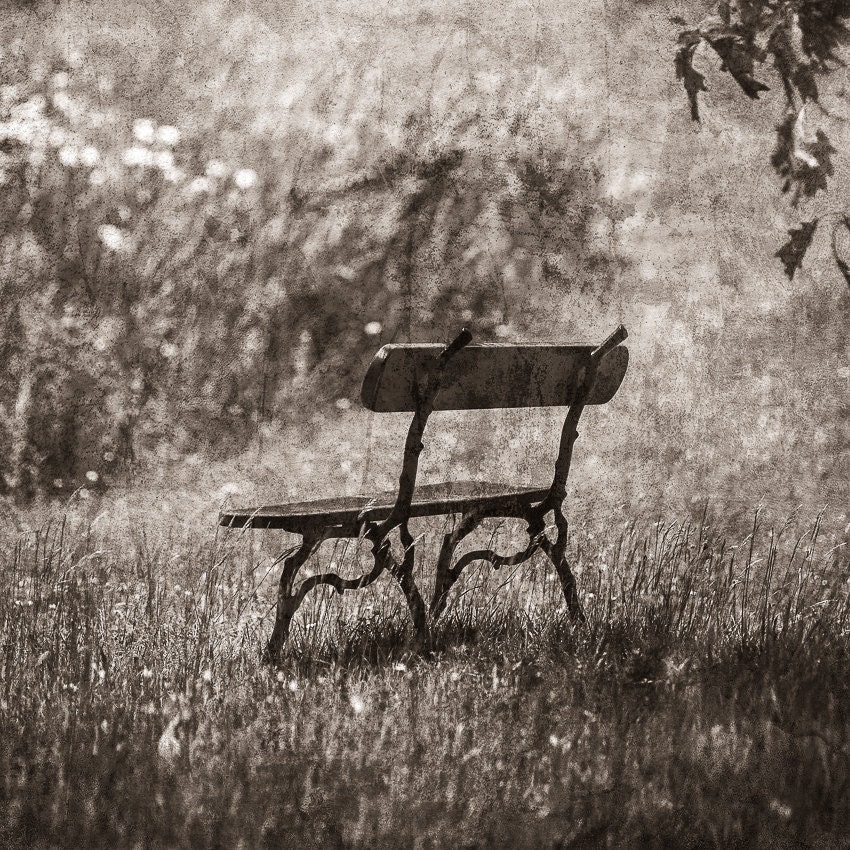
Set of 4 photos - FRENCH COUNTRYSIDE - LaurenceStudio
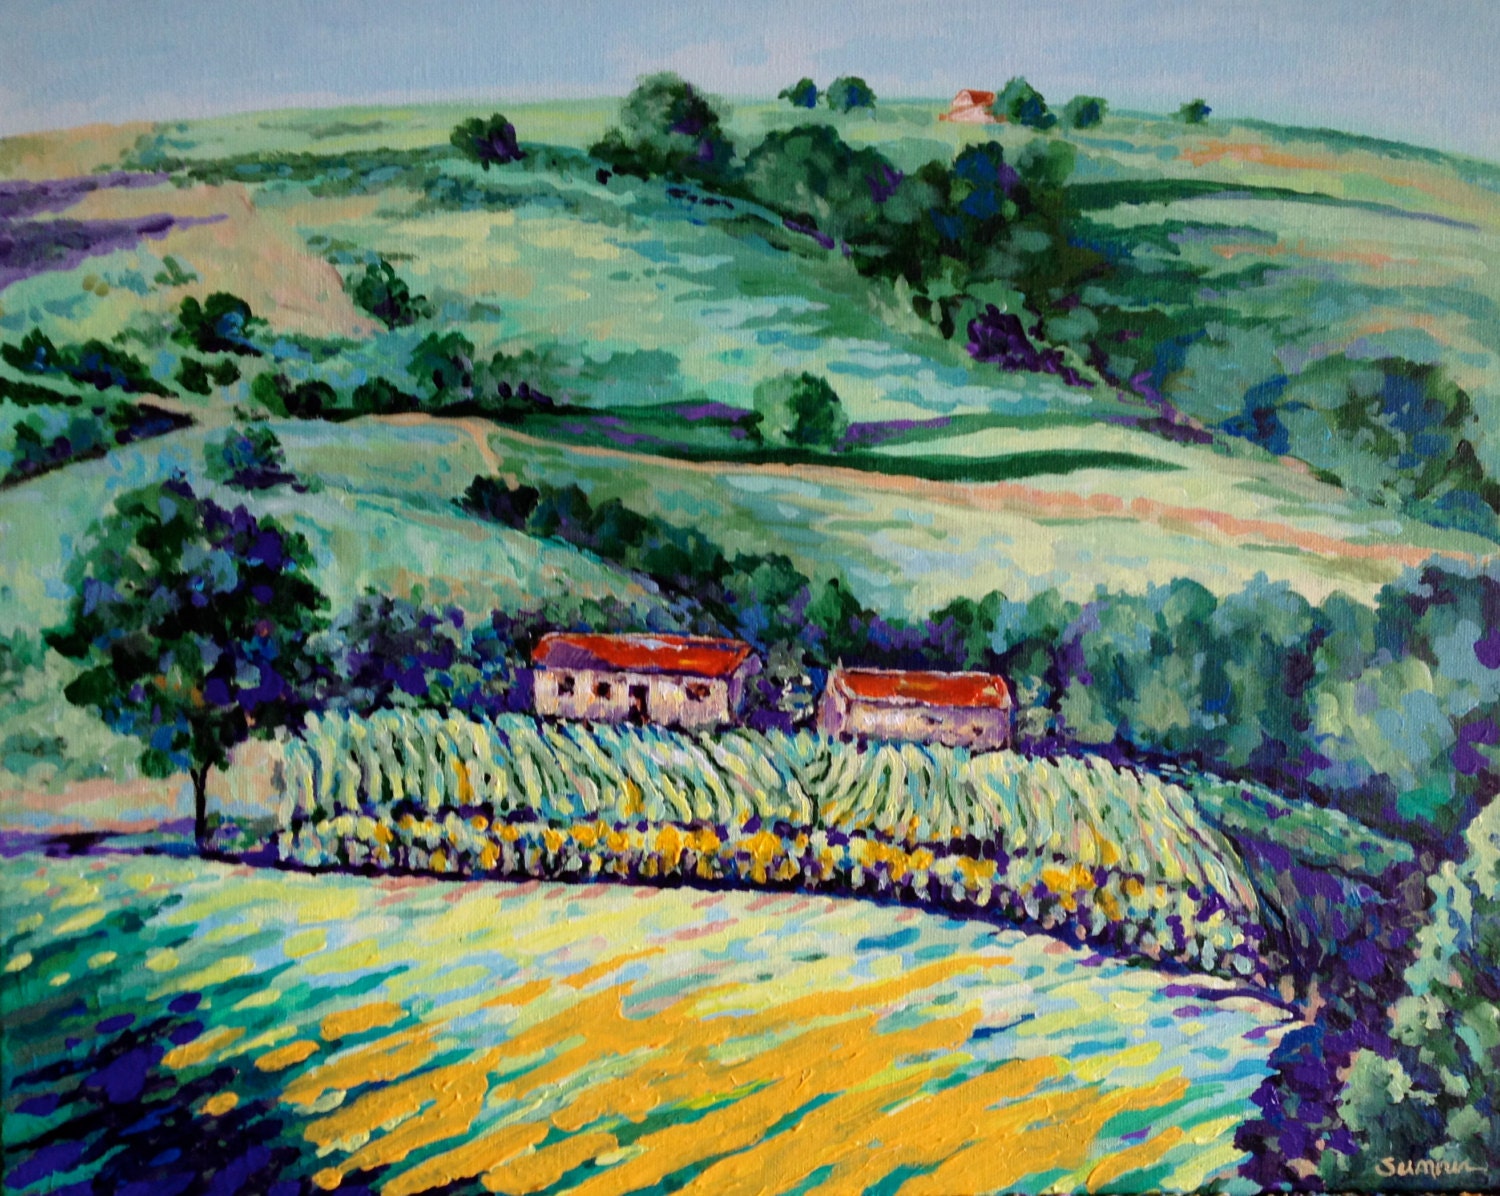
French Countryside, 16 x 20 Acrylic Painting, Impressionism, Gallery-Wrappd Canvas - rosemarysumner
Breitenbach, France - CoggeshallArt
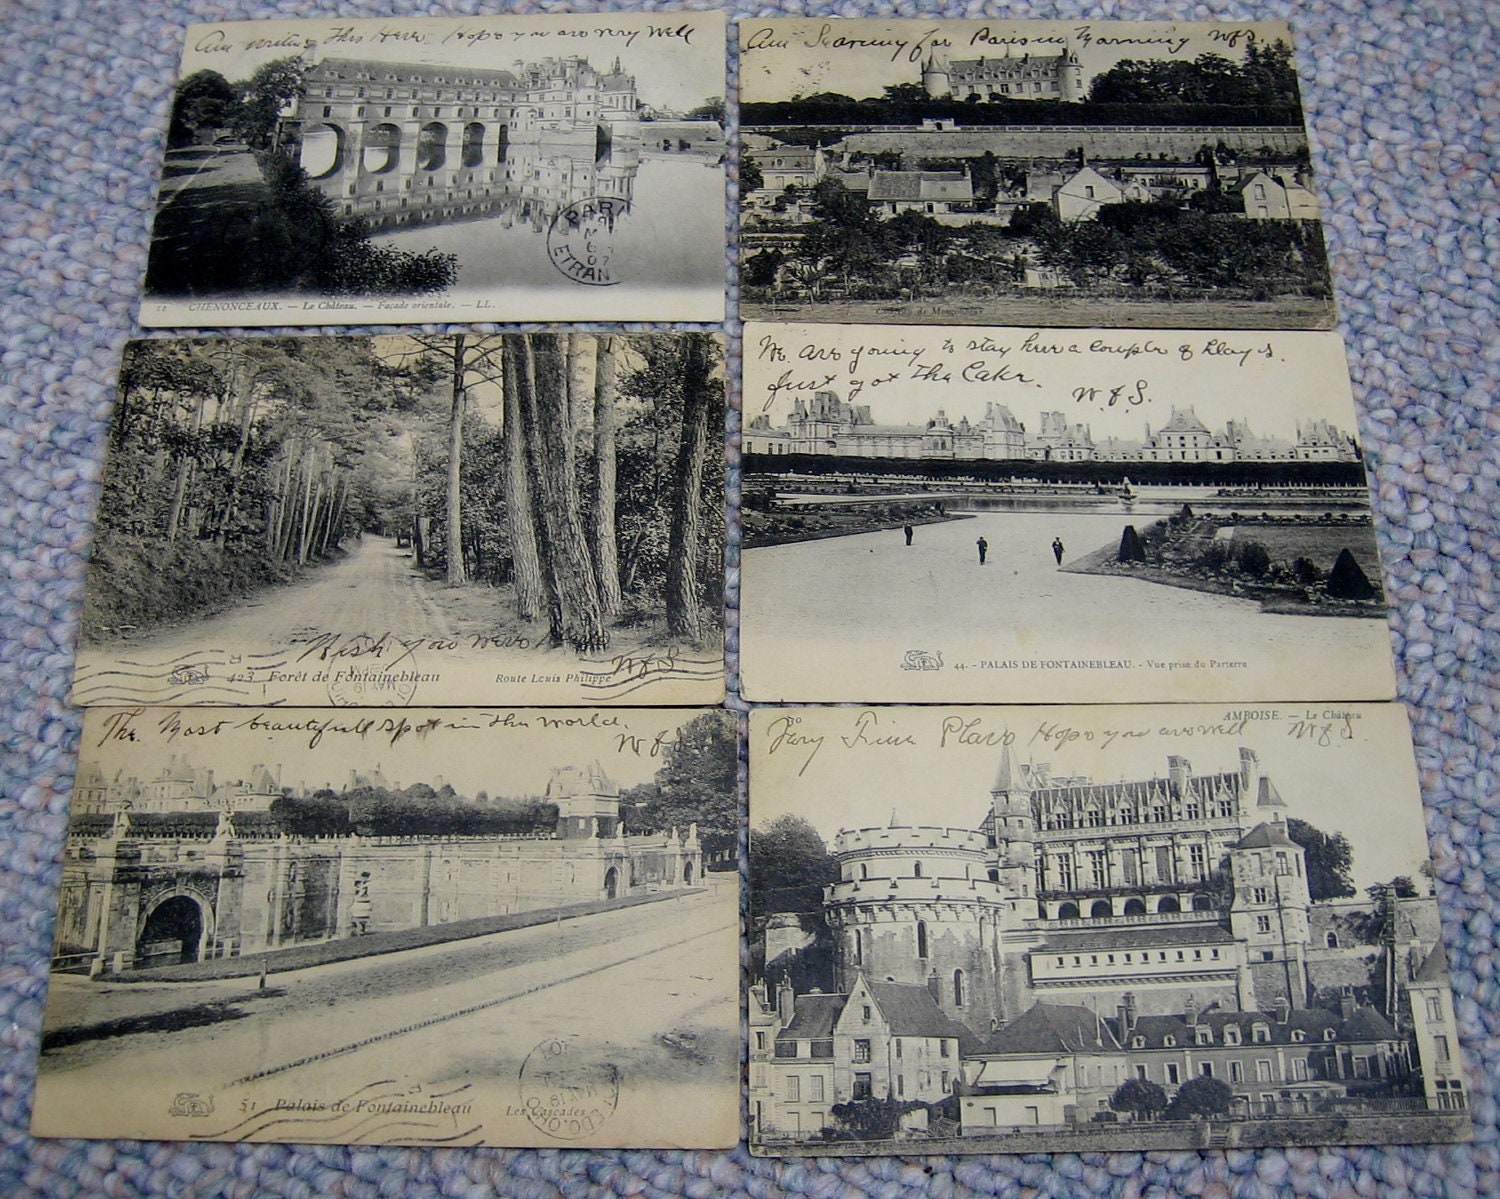
Vintage French Postcards French Chateau 1907 - RSWVintage
Vintage French Postcard - handwritten - french country home flowers stamp - FolieduJour
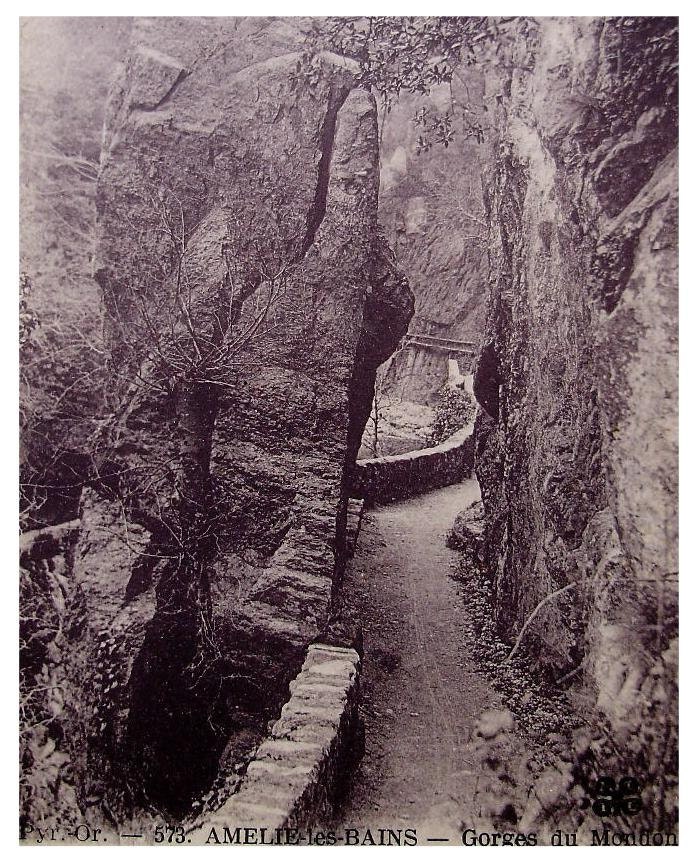
Gorges du Mondony, Amelie les Bains, France - Unused Vintage Postcard - ChicEtChoc

Treasury tool by StylishHome.

Monday, April 8, 2013

I Dream of Pallets


I love pallets!  They sure have taken the world by storm.  Sometimes I dream of them and of all the wonderful things I can build with the perfectly sized boards.  I mainly use them for small decorative accent pieces.  But sometimes I venture out into larger projects.  I love using pallets outdoors in the garden.  You can make planters, tables, storage racks (like the one I made above!), or anything your imagination comes up with.

The items below were all made from pallet boards.  I love taking the pallets apart.  I try to salvage every piece and remove the nails.  Sometimes, though, those doggone boards are nailed in with 738 old rusty nails;  those are the pallets that get the jigsaw treatment.  Anyway, the possibilities are endless! 


Do you love pallets?  Please leave me a comment and let me know what pallet creating you've been up to!


~ Alison
This post was linked up at:
Nifty-Thrifty Things


Wednesday, April 3, 2013

A New Lease on Life ~ Chest of Drawers Before and After

I was having coffee with an old friend not long ago.  She mentioned she was going to be cleaning out her garage and my "DIY" and "re-purpose" trained ears perked up!  When she said that two chest of drawers may be available, I cheered with glee!  I love turning old pieces of furniture into new treasures.  This was an opportunity I couldn't resist, so, I offered to take them off her hands. She agreed and now I'm the owner of two more pieces of furniture.  Oh, did I mention that we're downsizing next year after my youngest finishes high school.  Well, we are, but I keep acquiring more furniture.  My husband is having nightmares about our move.  So.much.furniture!!


Anyway, I posted a before and after of one of the pieces above.  It had great bones and only needed a face lift.  It has found its new home in my dining room/craft room/studio.  The drawers are so roomy.  I have all of my shipping supplies for my Etsy shop and additional paints and canvases waiting to be transformed into new creations.  I love how much storage this one piece has while having a very small footprint in the room.  

I used the same recipe for chalk-style paint that I've used in earlier projects.  You can see one of those here. It's the post of a transformation an old dining room table and chairs received when I changed our dining room into my craft room. You can see the supplies in the picture below.  The paint I used was a cast off from the Home Depot paint department.  I frequently visit Home Depot to check their culled lumber bin and paint that has been marked down due mixing errors or customers changing their minds.  Some times the prices are as low as 50 cents!  What a bargain!  Behr paint is my favorite, by the way.


The great thing about chalk-style paint is that you don't have to prime or sand the pieces before painting.  You do need to be prepared to use a finishing wax after painting, but I love that step.  It's very exciting to see the furniture take on a new look.  Below you can see what the drawers looked like before being painted.  I love how the black paint actually brings out the character of the drawers and the overall piece.  It gives it such an updated, yet classic look.  I was going to repaint the hardware as well, but after I finished painting the drawers, I decided the old hardware just needed a good scrubbing.  It looks great in its original finish.  I did remove the ornamental plates behind some of the pulls.  You can see it below.  It's the three-petaled fixture behind the pull.  I'll save them to use in another project down the road.


Here's one more look at the finished product.  I love, love, love it! 


As for the second chest of drawers.....it simply moved from one garage to another.  But it has a place of high importance in my garage.  It contains all of my finished boards and planks I use to make creations for the Hartley Rowe Etsy shop.  It was the perfect piece to get my garage workshop organized.  

Boy, do I have a great friend or what?  Next trip to Starbucks is on me!

I'd love to hear about your before's and after's using either Annie Sloan's Chalk Paint, or a homemade recipe.  Annie Sloan's Chalk Paint is the best, but for projects that are staying here at home, I usually save a bit of money and use the homemade recipe.

Thank you all for stopping by.

~ Alison
I've linked this post up at the following: